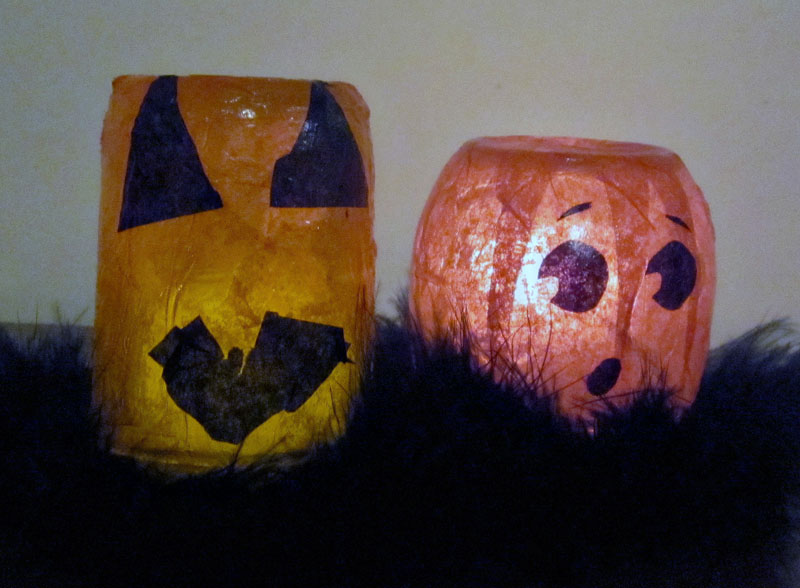
Emily has been asking to make mosaic votives like the ones we did at Christmas time. I thought that they would be an excellent addition to our Halloween decor; and after some procrastination we finally got around to making some. The girls loved this activity and it is so easy and relatively low mess, it’s perfect for after school or for a long weekend like we are starting tomorrow. Really, I don’t know what I was waiting for.
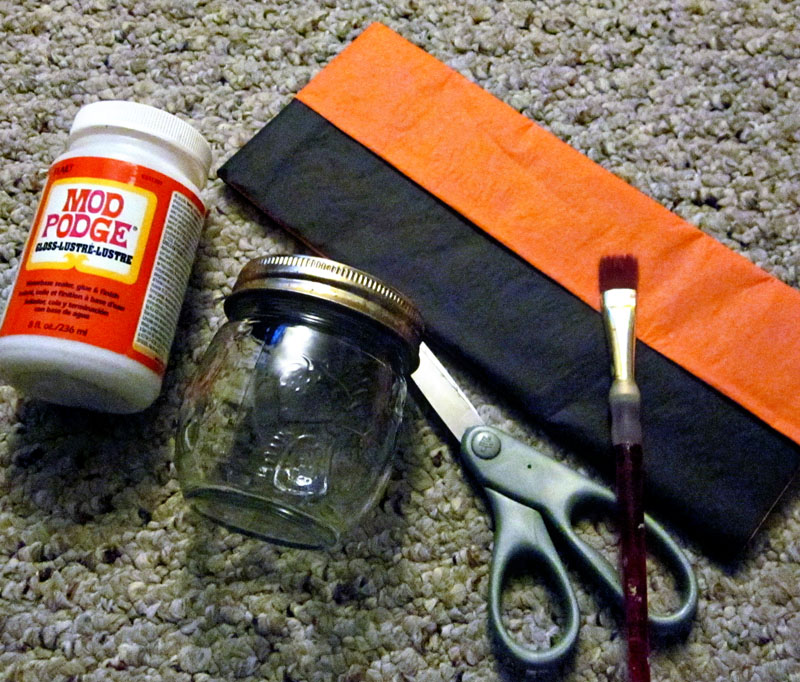
materials
clear votive candle holder (Or re-use small canning jars as we did. We loved how the rounded 1/2 pint jars looked. I think something big like a pickle jar would also be great.)
tissue paper
mod podge ( I recommend the gloss finish) thinned white glue will also work in a pinch
scissors
paint brush
directions:
1. Lightly sketch your design onto the tissue paper if needed. Cut out the pieces, I used strips to give it a pumpkin-y feel; the girls preferred more of a mosaic technique.
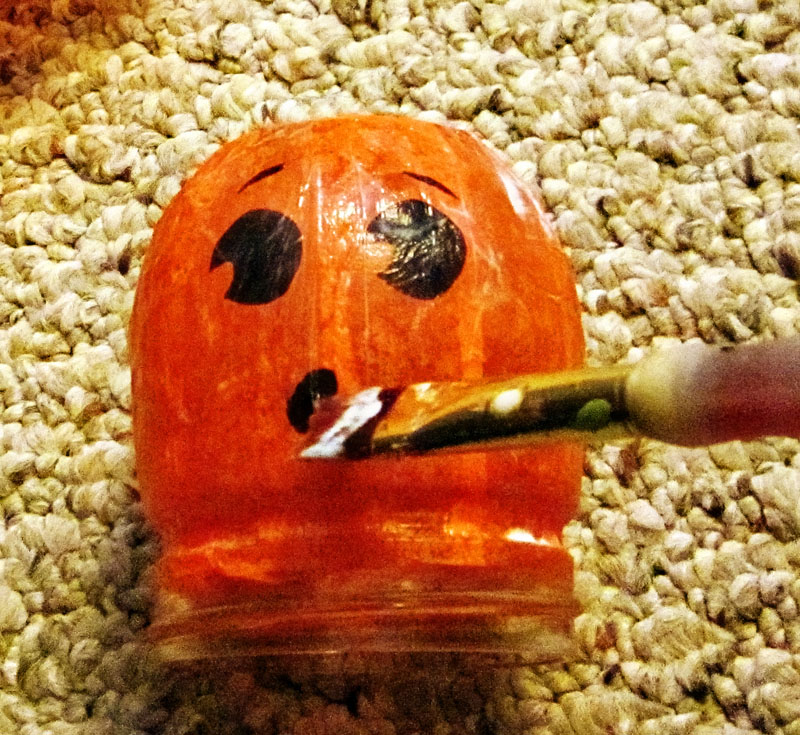
3. Brush a thin coat of mod podge onto an area. It dries fairly quickly, so it is best to just coat a few inches, apply tissue, then move to the next section. It is alright if it gets a few wrinkles and uneven spots. This will give the design more character. Slick a little more mod podge over the tissue paper to adhere it to the glass.
4. Work your way around the entire exterior, covering all of the glass with a final coat to seal. If there are areas where there is a ridge or bead of mod podge, smooth out with the brush so that everything is even and flat along the glass.
Once it is completely dry, place a candle in your new holder and arrange on the table or line your spooky sidewalk with pumpkin luminaries. I recommend LCD votives – not only are they safer for little hands; but if you turned the glass upside down, you will need them as there isn’t enough O2 for a candle. Enjoy!


So cute, Keersten.